Planning a home renovation project in Dubai is easier when you treat it as a sequence of decisions, not one large, vague task. Before tiles are removed or paint colours are chosen, you need a clear brief, a realistic budget, the right contractor and a schedule that respects building rules, material lead times and daily life at home.
A good plan also protects you from the most common renovation problems: unclear quotations, rushed design choices, hidden plumbing or electrical issues, approval delays and last-minute changes. The steps below will help you move from idea to handover with more control and fewer surprises.
Step 1: Clarify what should change and why
Start with the reason for renovating. Are you upgrading a villa for long-term family living, preparing an apartment for rent, improving storage, modernising a kitchen or fixing tired bathrooms? The answer affects almost every decision that follows.
Walk through each room and write down what is not working. Be specific. Instead of writing “kitchen is old”, note whether the issue is lack of counter space, poor lighting, damaged cabinets, weak ventilation or an awkward appliance layout. This early filter keeps your home renovation project focused on real problems rather than decorative changes that may not improve daily comfort.
It also helps to separate needs from preferences. Needs include waterproofing repairs, unsafe wiring, poor drainage, cracked flooring or layouts that no longer suit your household. Preferences include finishes, colours and feature walls. Both matter, but needs should shape the first version of the scope.
Step 2: Audit the existing property before designing
Many renovation delays begin because the existing condition of the property was not checked properly. Before finalising a design, inspect the walls, ceilings, floors, plumbing points, electrical layout, air-conditioning routes, windows and doors.
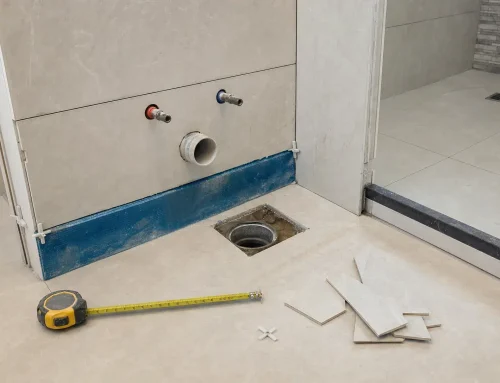
In Dubai homes, this is especially important for bathrooms, kitchens, villas and older apartments where concealed pipes, waterproofing or previous repair work may affect the plan. A contractor should identify whether walls can be modified, whether drainage slopes are suitable and whether ceiling space can support new lighting or AC changes.
Photos, measurements and a simple room-by-room condition report make later discussions much easier. If you are renovating a villa, include outdoor areas, boundary walls, service rooms and any external utility zones in the audit.
Step 3: Budget your home renovation project realistically
A renovation budget should include more than the visible finishes. Cabinets, tiles and sanitaryware are only part of the total cost. Labour, demolition, disposal, waterproofing, plumbing, electrical work, carpentry, painting, flooring, authority requirements and site protection can all affect the final amount.
It is wise to build the budget around priorities. If bathroom waterproofing, kitchen functionality and flooring quality matter most, protect those items first before allocating money to decorative upgrades. By this point, the home renovation project should have a practical cost framework that matches the scope, not just a wish list based on showroom visits.
| Planning item | What to decide | Why it matters |
|---|---|---|
| Scope | Rooms, areas and systems to renovate | Prevents unclear quotations and missed work |
| Budget range | Essential works plus preferred upgrades | Helps control decisions before work starts |
| Timeline | Start date, work duration and handover target | Reduces disruption and supports material planning |
| Approvals | Building, community or authority requirements | Avoids site stoppages and compliance issues |
| Materials | Tiles, flooring, fixtures, paint and joinery finishes | Prevents delays caused by late selections |
For a deeper look at whole-home planning, you can also review this guide to entire home renovation planning without the stress.
Step 4: Choose the right contractor and consultant support
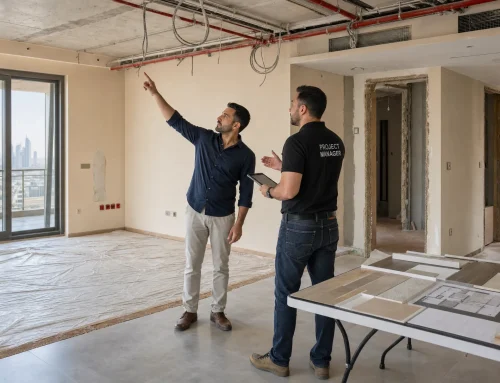
The contractor you choose will influence build quality, communication and how smoothly the site runs. Look for experience with the type of property you own, whether that is an apartment, townhouse, villa, kitchen, bathroom or commercial space.
Ask for a written quotation that breaks down major work categories. A single lump-sum number is hard to compare and often hides missing details. A home renovation project becomes much easier to manage when the contractor explains what is included, what is excluded and what could change if hidden issues appear after demolition.
You should also confirm who will supervise the site, how often updates will be shared and how variations will be approved. If you are comparing companies, this home renovation contractors checklist can help you review quotations and responsibilities more carefully.
Step 5: Turn design ideas into buildable details
Design inspiration is useful, but site-ready decisions are what keep work moving. Before construction begins, finalise floor layouts, lighting points, plumbing positions, storage requirements, cabinet dimensions, wall finishes and flooring transitions.
Mood boards and reference images help communicate style, but they should be translated into drawings, measurements and a material schedule. This is where interior design and fit-out planning become practical. The goal is to decide how the space will function, how it will look and how each trade will execute the work.
Imported tiles, custom joinery, special sanitaryware and wooden flooring may need additional lead time. Choosing them late can delay carpentry, plumbing, painting and final installation.

Step 6: Confirm approvals, building rules and site access
Renovation rules vary by property type, community and building. Apartments often require building management approval, work permits, noise restrictions, lift protection and approved working hours. Villas may involve community guidelines, external works restrictions or authority requirements depending on the location and scope.
Your home renovation project may need approvals before demolition, plumbing relocation, electrical work, structural changes or major fit-out activity. Always check with the relevant building manager, developer, free zone or authority before starting. For general municipal information, Dubai Municipality is a useful reference point, but the exact process depends on where the property is located.
Site access also needs planning. Confirm parking for workers, delivery routes, material storage, waste removal, lift booking and neighbour notifications where required. These details are not glamorous, but they prevent avoidable delays.
Step 7: Plan the work sequence and living arrangements
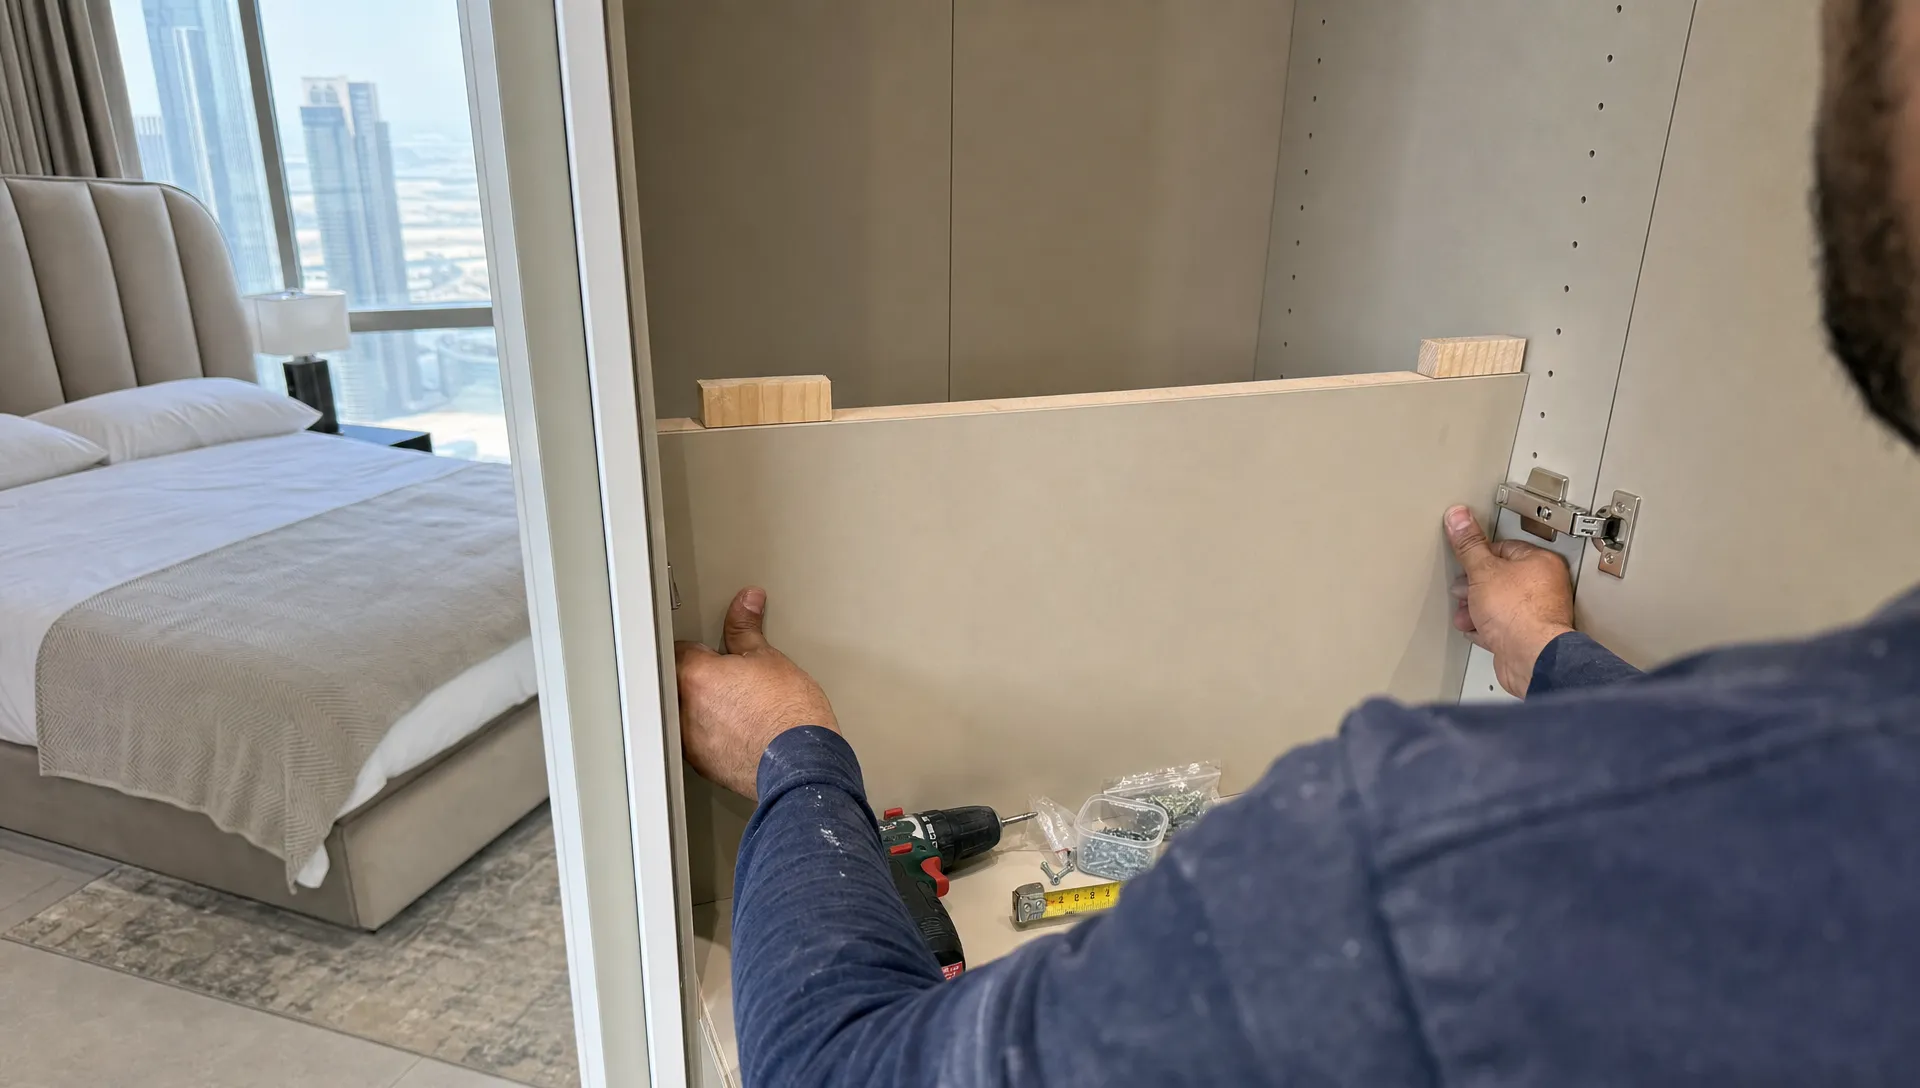
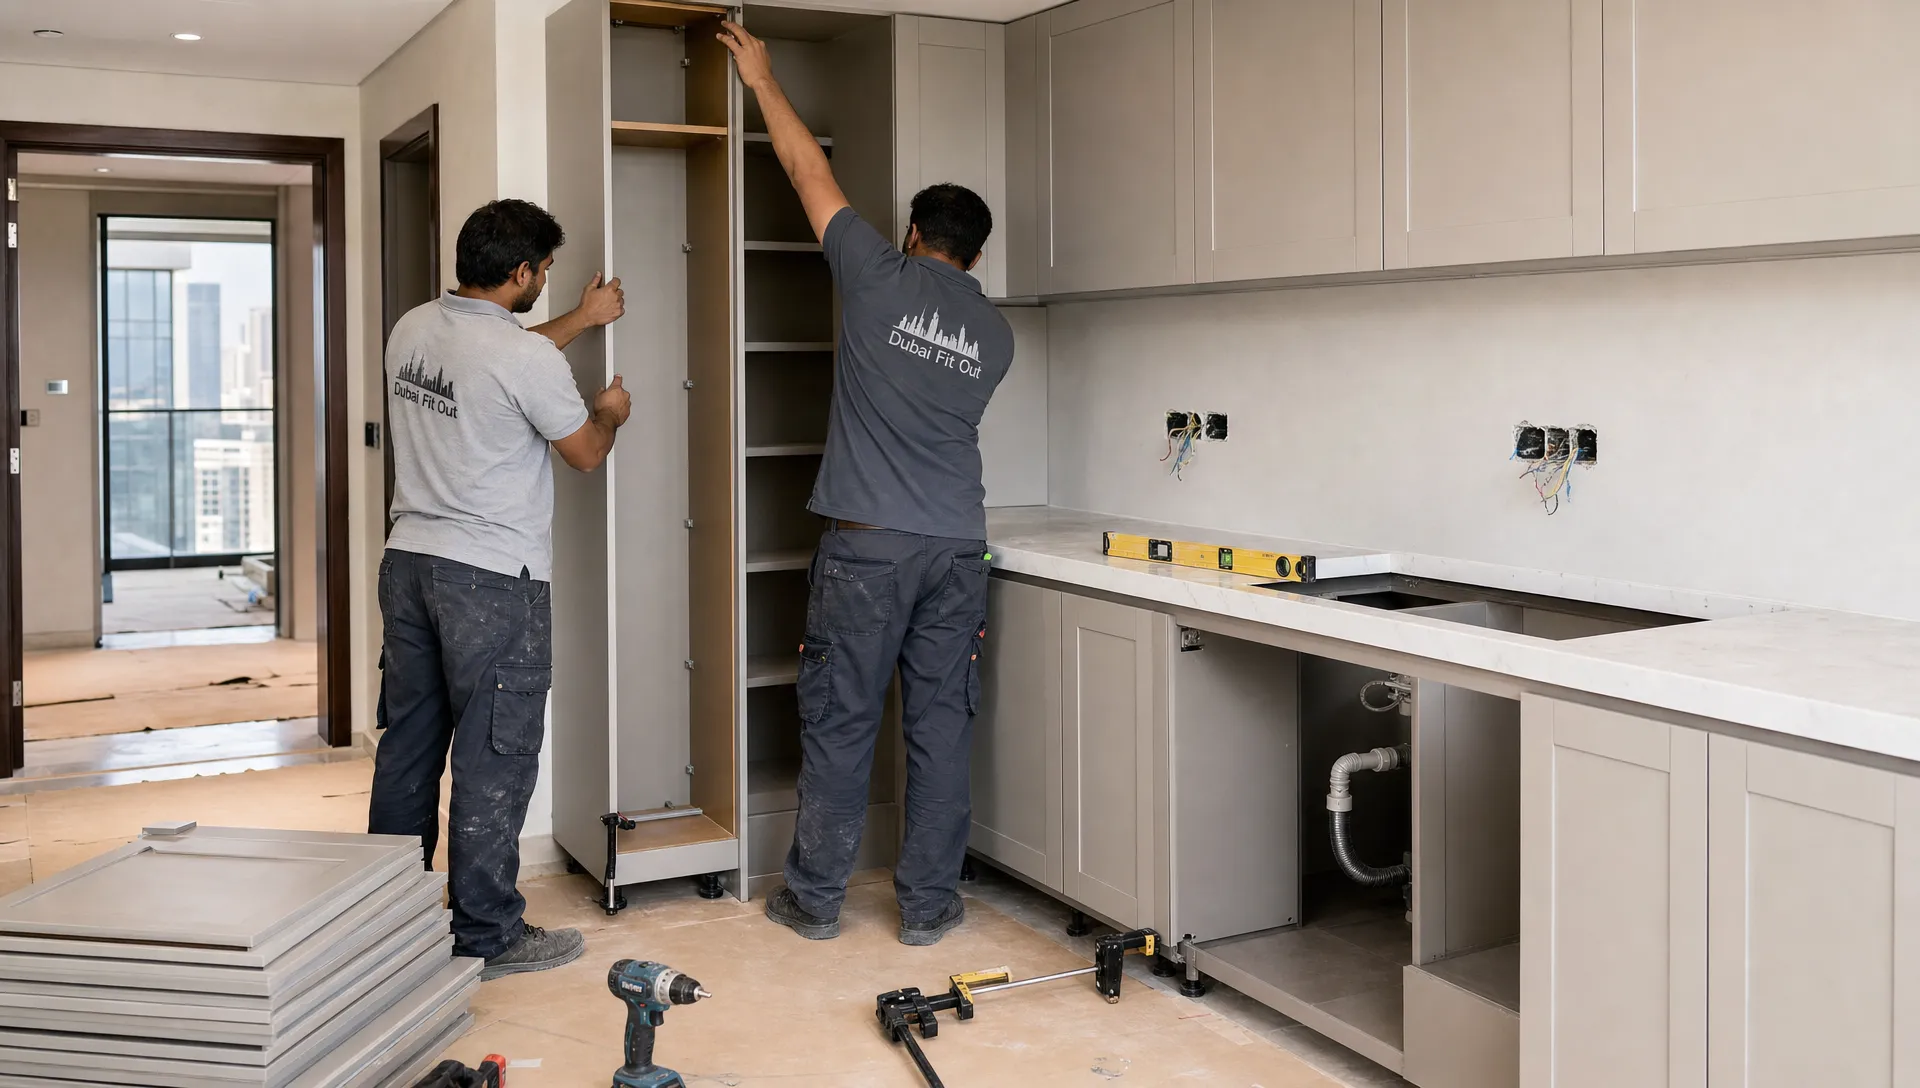
Renovation work has a logical order. Demolition and protection come first, followed by hidden works such as plumbing, electrical changes, AC adjustments and waterproofing. After that, the team can move to plastering, tiling, carpentry, flooring, painting, fixture installation and final touch-ups.
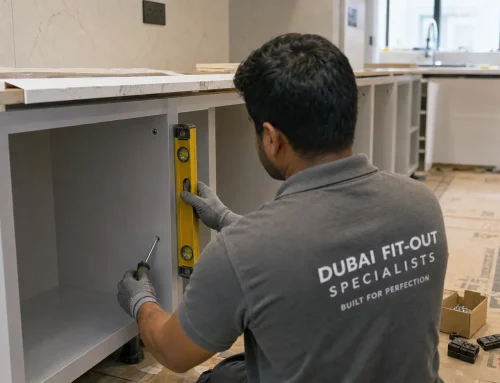
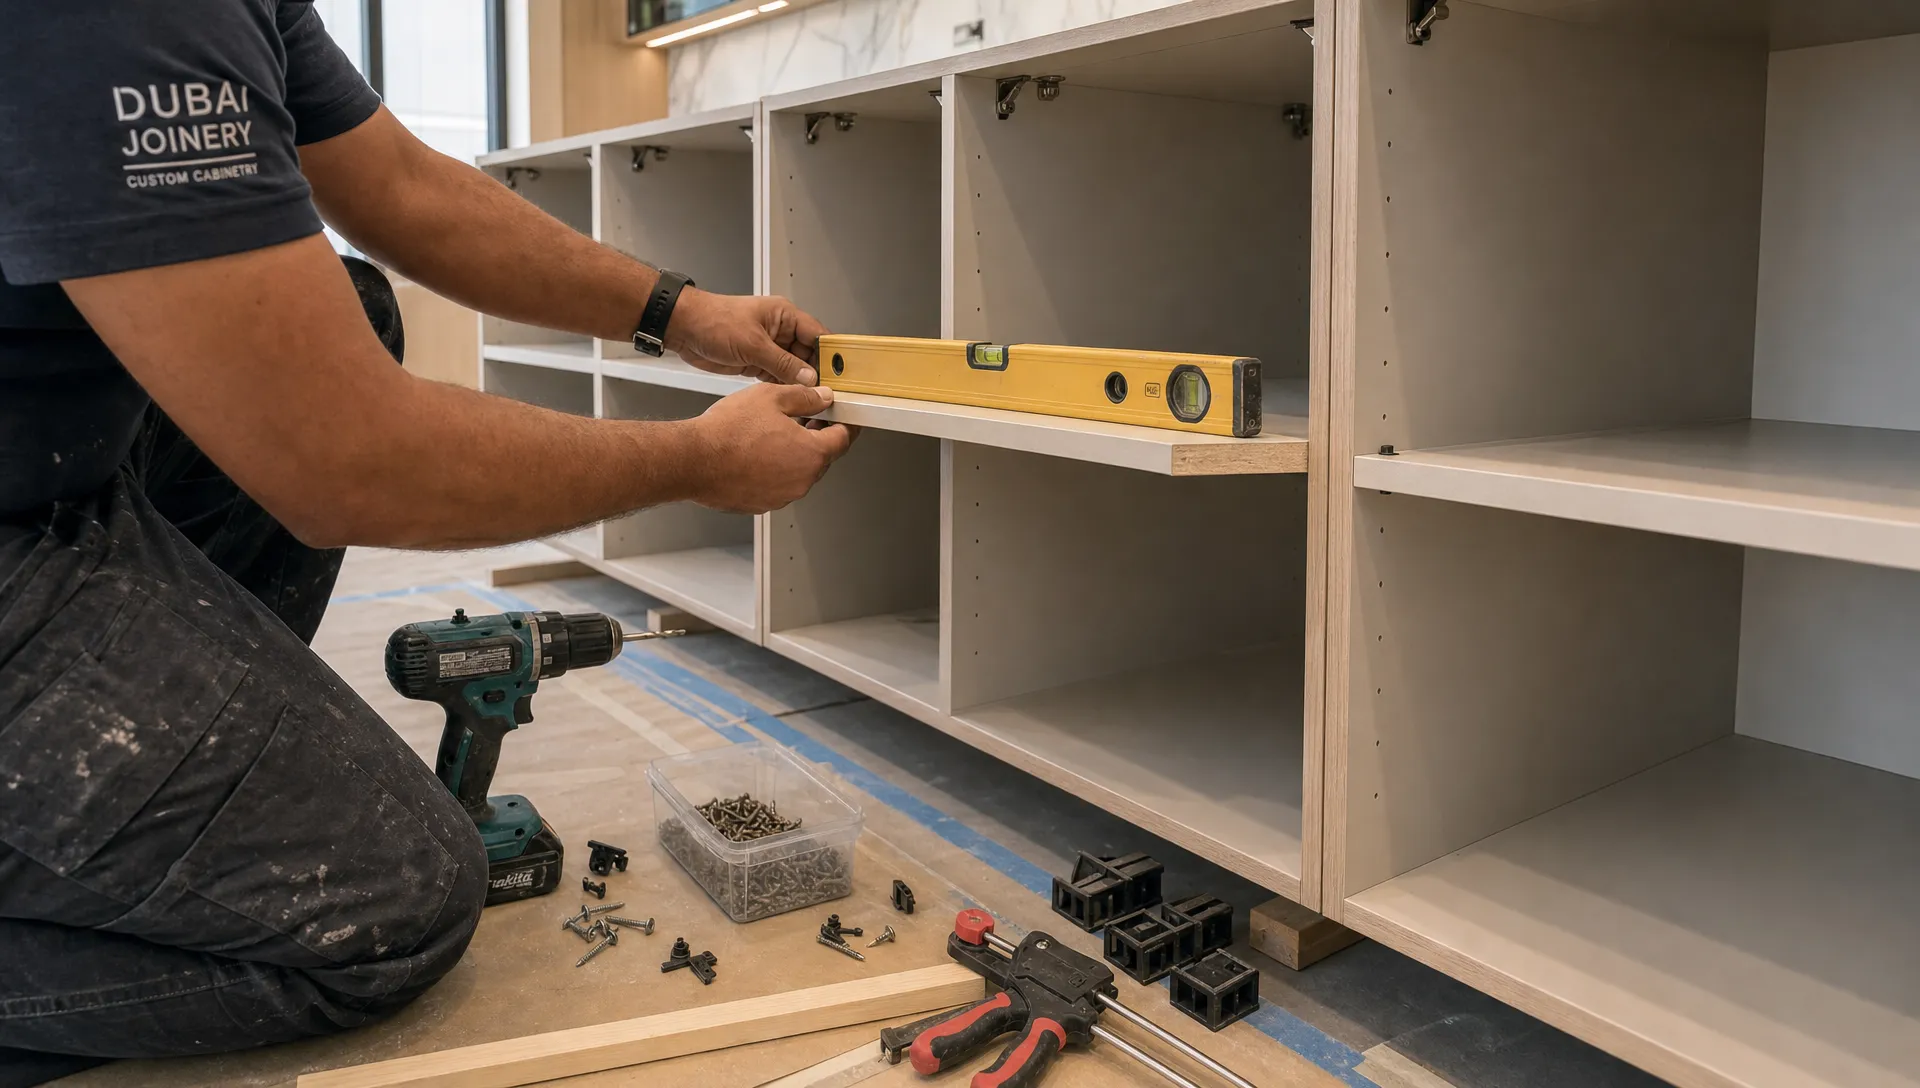
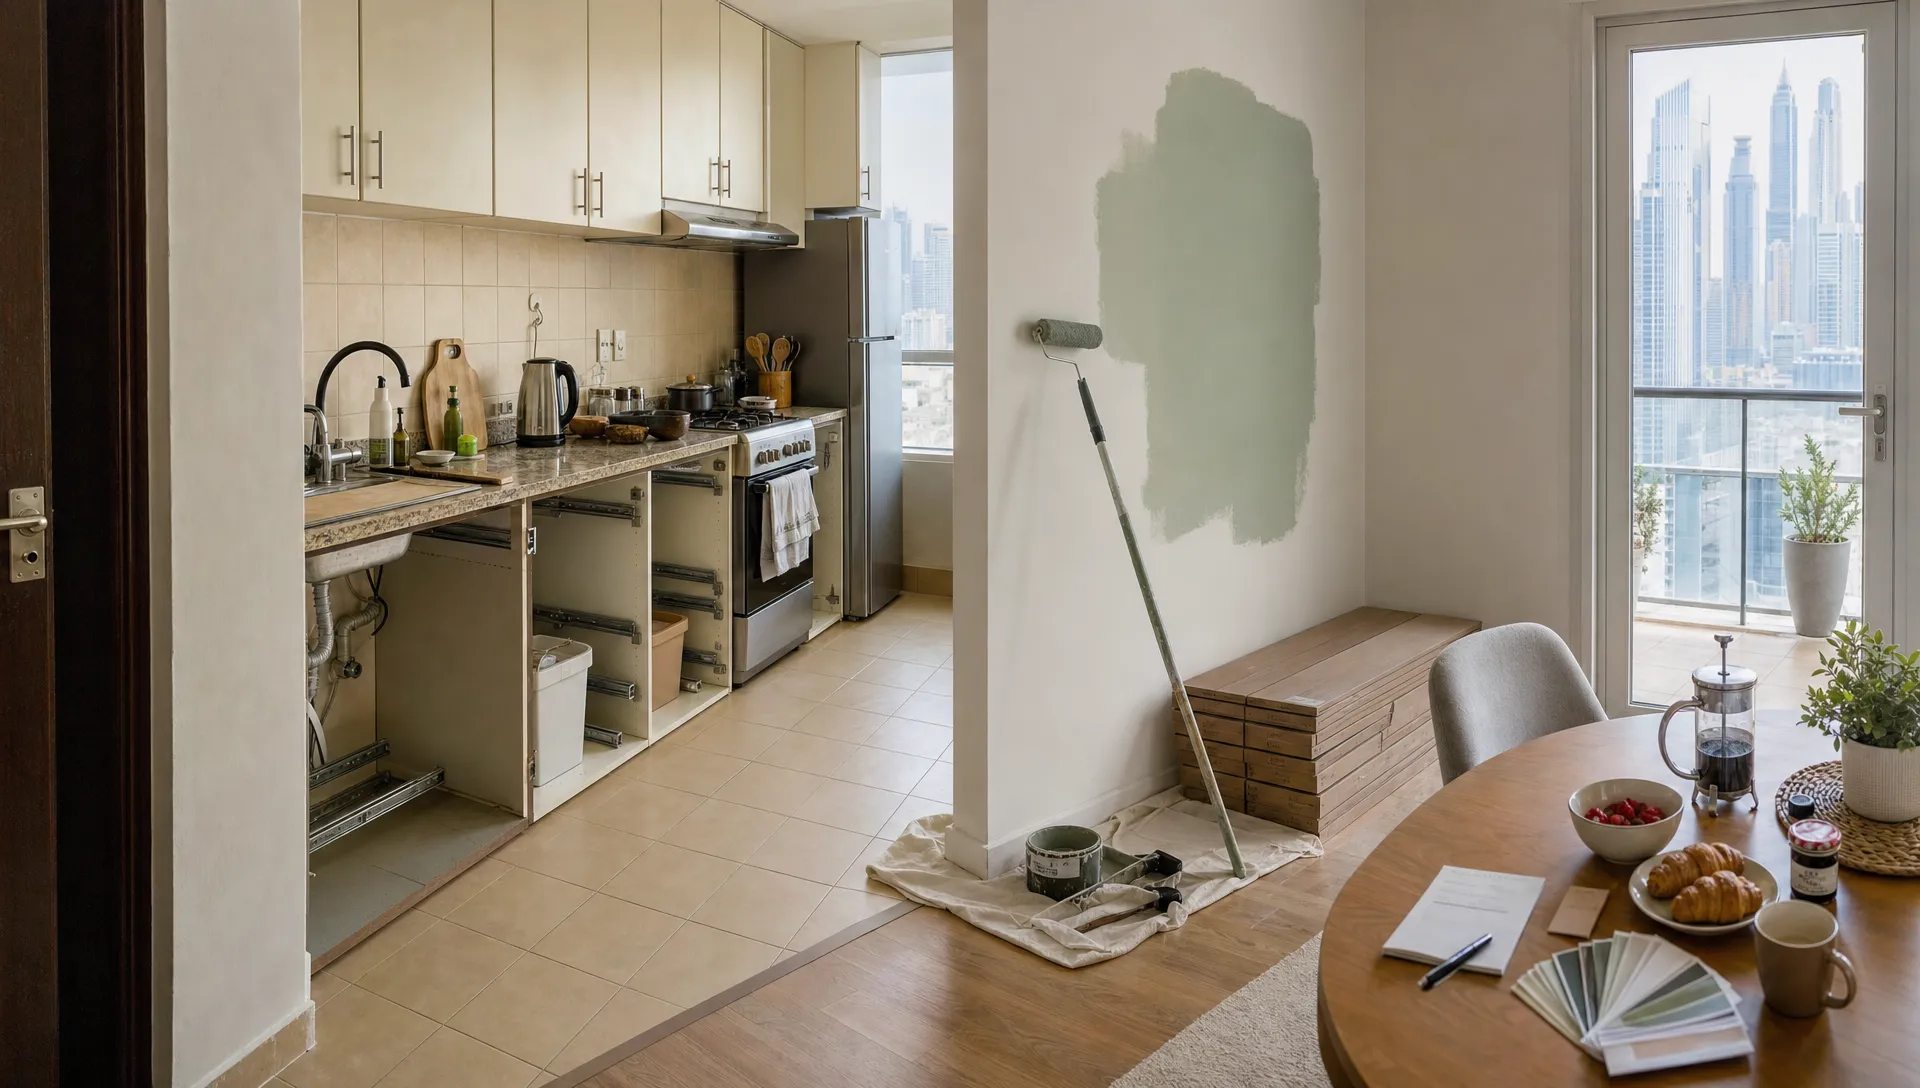
During a home renovation project, the wrong sequence can create rework. For example, painting too early may lead to damaged walls when cabinets or countertops arrive. Installing flooring before heavy works are finished can cause scratches, stains or replacement costs.
If you plan to live in the property during renovation, discuss temporary access to bathrooms, kitchen facilities, sleeping areas and storage. For major villa renovation or full apartment upgrades, moving out for part of the work may be more comfortable and sometimes more efficient.
Step 8: Track progress, quality and changes
Once work begins, planning shifts into monitoring. Regular site updates help you confirm that the design, materials and workmanship match the agreed scope. This does not mean micromanaging every worker, but it does mean checking milestones before the next layer of work hides them.
Treat your home renovation project as a controlled process with clear approvals. If you change tile sizes, move a plumbing point or add carpentry, ask how it affects cost and time before giving approval. Variations should be written down, not handled through casual verbal instructions.
Useful checkpoints include completion of demolition, plumbing pressure tests, waterproofing before tiling, electrical point locations, carpentry measurements, paint sample approval and final fixture installation. This practical renovation work checklist can help you keep track of the main stages.
Step 9: Inspect carefully before final handover
Do not rush the final inspection. Walk through the property with your contractor and test everything you can. Open cabinets, check door alignment, inspect grout lines, test water drainage, run taps, switch on lights, review paint finishes and check flooring edges.
Create a snag list with photos and clear descriptions. A good snag list is not a complaint document, it is a practical record of items that need correction before final handover. Agree on the completion date for those items and confirm any warranty or after-service support in writing.
Keep copies of drawings, invoices, product details, paint codes, appliance manuals and maintenance instructions. These records are useful for future repairs, resale or the next phase of upgrading.
Common planning mistakes to avoid
Some renovation mistakes are expensive because they happen early. Starting without a clear scope is one of the biggest. It leads to unclear quotations, repeated design changes and disagreements about what was included.
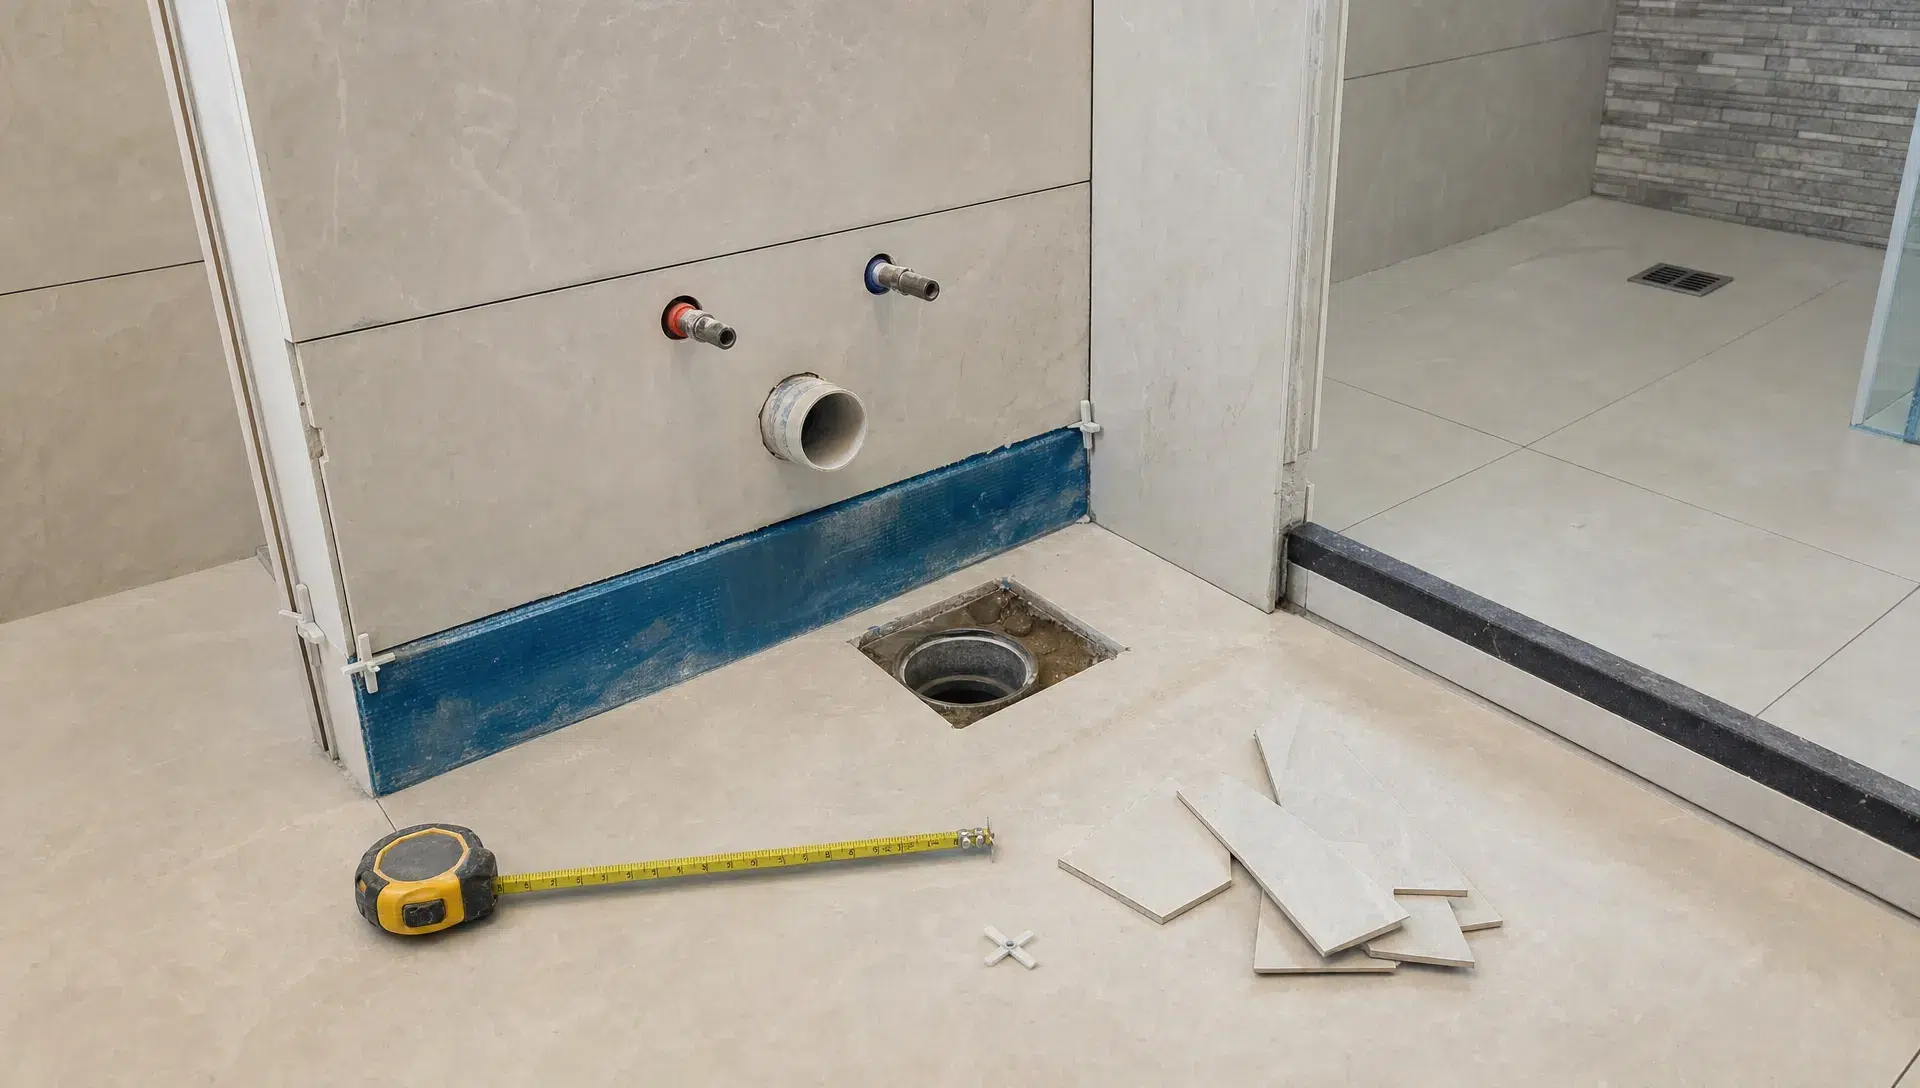
Another mistake is choosing finishes before understanding technical constraints. A large-format tile, wall-mounted toilet, hidden lighting detail or open-plan kitchen may look simple in a reference image, but the existing plumbing, ceiling height or electrical layout may limit what is practical.
The most successful home renovation project is usually the one with fewer assumptions. Confirm measurements, drawings, materials, responsibilities and approvals before site work begins. A slower planning phase often creates a faster renovation phase.
Frequently Asked Questions
How long does a home renovation project take in Dubai? The timeline depends on the size, scope, approvals, material availability and whether hidden repairs are discovered. A bathroom or kitchen may take far less time than a full villa renovation, but every schedule should include time for design, approvals, procurement, construction and snagging.
Do I need approvals before renovating my Dubai home? In many cases, yes. Apartments usually require building management approval, and villas may need community or authority clearance depending on the work. Always confirm requirements before demolition or technical changes begin.
What should I finalise before renovation work starts? Finalise the scope, budget, contractor agreement, drawings, material selections, approval requirements, work sequence and communication process. The more decisions you make before site work starts, the fewer delays you are likely to face.
Can I renovate one room at a time? Yes, phased renovation can work well if the sequence is planned properly. However, shared systems such as plumbing, flooring, electrical work and painting may be more efficient when grouped together.
Ready to plan with less stress?
If your home renovation project needs experienced support in Dubai, Best Renovation can help with home renovation, villa renovation, kitchen remodeling, bathroom renovation, interior design, fit-out solutions, plumbing, carpentry, wooden flooring and wall painting.
A clear plan is the first step toward a renovation that feels organised from start to finish. To discuss your space and priorities, visit Best Renovation and start shaping a practical scope for your home.